
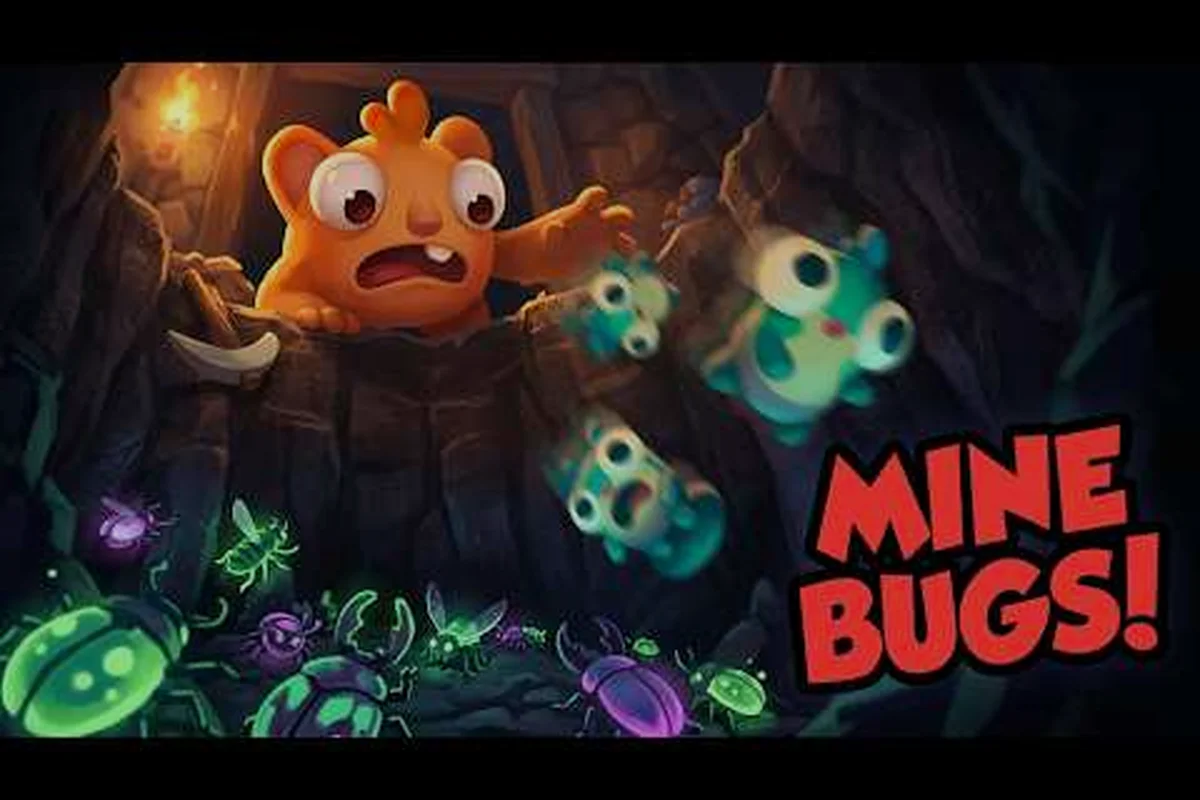
Picking the hole is mine best minions isn't about raw stats alone — it's about matching each Mini'Oh's role to the depth you're clearing and the dangers waiting below. With 500+ equipment combinations and 300+ upgrades available, your companion choices determine how fast you purify the divine Hole and how far Shelly can drill before resources run dry. This ranking breaks down every companion by utility, survivability, and depth efficiency so you can build a crew that never stalls.
Ranking the Hole Is Mine Best Minions by Depth Efficiency
Every Mini'Oh fills a specific niche in your purification operation, and understanding those roles matters more than chasing a single overpowered pick. The game's incremental loop rewards specialization: some companions excel at rapid impurity extraction in the upper caves, while others shine during deep incursions where hazards multiply. Community testing across the first 40 depths consistently shows that a balanced squad outperforms a stack of the same type.
| Mini'Oh | Primary Role | Best Depth Range | Key Strength | Notable Weakness |
|---|---|---|---|---|
| Pebble | Balanced Mining | 1–15 | Consistent output, low maintenance | Falls off in hazard-heavy zones |
| Chompy | Burst Extraction | 5–25 | High burst damage to impurities | Needs frequent stamina recovery |
| Glimmer | Resource Discovery | 10–30 | Finds hidden caches and secrets | Fragile in combat encounters |
| Brute | Hazard Clearance | 20–40 | Clears blocked paths and debris | Slow mining speed |
| Zippy | Speed Mining | 1–20 | Fast extraction cycles | Low carry capacity |
| Mender | Sustain Support | 15–40 | Repairs other Mini'Ohs | No direct mining output |
The ranking above reflects depth efficiency rather than a pure power tier list, because the best companion in the game changes as you descend. Pebble carries you through the early game with zero babysitting, but by depth 20 you'll want Brute clearing debris while Mender keeps everyone operational. According to player reports from the Steam community, most runs stall because players stick with their starter Mini'Ohs instead of adapting their squad to the hazard profile of each depth band.
How the Depth System Shapes Your Minion Choices
The 40-depth structure isn't just a numbers game — each zone introduces new impurities that resist certain mining styles. Upper depths (1–10) contain soft impurities that crumble under any attack, making speed-focused Mini'Ohs like Zippy incredibly efficient. Mid depths (11–25) mix in armored impurities that require sustained damage, which is where Chompy's burst attacks and Pebble's balanced output pull ahead. Deep zones (26–40) layer in environmental hazards that damage your crew over time, making Mender's sustain ability nearly mandatory.
What surprised most players during the Next Fest prologue was how the incursion events reshuffle your squad priorities. When an incursion triggers, you'll want your highest-damage Mini'Ohs deployed immediately, because these events reward speed over efficiency. The cloning item introduced in the prologue changelog lets you duplicate your best performers during these windows, which is why most speedrunners now keep one cloning charge reserved for incursion phases rather than spending it on routine mining.
How to Get More Mini'Ohs and Expand Your Crew
Finding new companions isn't a linear progression — it's woven into exploration, incursion rewards, and a few hidden mechanics that most players miss on their first run. The hole is mine how to get more mini'ohs question comes up constantly in community discussions, because the game never explicitly tells you where the next companion is hiding. Based on the official Hole Is Mine Steam page, Mini'Ohs are discovered while exploring the Hole, but the exact spawn logic rewards thoroughness over speed.
-
Explore every side passage — Mini'Ohs often hide in dead-end rooms that don't contain impurities or ore, so don't skip branches that look empty.
-
Complete incursion events — these timed challenges frequently reward new companion types alongside cloning items and Holy Blook.
-
Check the Village after each depth milestone — some Mini'Ohs wander into your hub once you reach specific depth thresholds, so return regularly.
-
Experiment with Shelly's drill path — drilling through certain wall types can reveal hidden chambers containing dormant Mini'Ohs.
-
Watch for the Friendship Wool resource — the prologue changelog confirms this item exists, and community data suggests it plays a role in companion acquisition.
The character list in Hole Is Mine isn't static — each Mini'Oh you unlock has its own name, visual identity, and stat spread, which makes collection genuinely rewarding rather than just a numbers game. According to the official SpaceJazz game page, there are 500+ equipment combinations to customize your crew, which means even two players with the same Mini'Oh roster can run completely different strategies.
Cloning Mechanics and Squad Expansion
The cloning item mentioned in the Next Fest changelog deserves special attention, because it's the only way to duplicate your best performers. When you find a cloning item during an incursion, you can create a copy of any Mini'Oh currently in your squad — but the clone starts at level 1, so you'll need to invest resources to bring it up to speed. Strategic players save cloning charges for their highest-value companions rather than cloning early-game filler, because the resource investment to level a clone mirrors the original's progression path.
Community reports suggest that cloning during incursions is the fastest route to a full squad of your preferred Mini'Oh types, but it comes with a tradeoff: cloned companions don't retain equipment loadouts, so you'll need to re-gear them from your inventory. This makes the equipment management system more important than most players realize, because your ability to instantly equip a fresh clone determines whether cloning is a net gain or a resource sink.
Hole Is Mine Mini'Ohs Explained: Stats, Abilities, and Hidden Mechanics
Understanding what each stat actually does transforms how you evaluate companions. The hole is mine mini'ohs explained breakdown below covers the core attributes that determine performance, plus a few hidden mechanics that aren't documented anywhere in-game. Mining speed affects how quickly a Mini'Oh completes an extraction cycle, while carry capacity limits how much impurity it can hold before needing to return to the surface. Damage determines how fast it breaks through tougher impurity types, and stamina recovery governs how long it can work before needing rest.
| Stat | What It Does | Priority by Depth |
|---|---|---|
| Mining Speed | Extraction cycle time | High (1–15), Medium (16–40) |
| Carry Capacity | Impurities per trip | Medium (all depths) |
| Damage | Breaking armored impurities | Low (1–15), High (16–40) |
| Stamina Recovery | Work time before rest | Medium (1–25), High (26–40) |
| Hazard Resistance | Damage taken from environment | Low (1–20), Critical (21–40) |
What the stat screen doesn't tell you is that hazard resistance has hidden breakpoints. Community testing indicates that once a Mini'Oh crosses certain resistance thresholds, it becomes immune to specific hazard types entirely — for example, a Brute with enough resistance stops taking damage from falling debris in depth 30+ zones. These breakpoints aren't shown anywhere in the UI, so players have to experiment or consult community spreadsheets to find them.
Hidden Synergies Between Mini'Ohs
The game's deepest layer of strategy comes from how different Mini'Oh types interact when deployed together. Mender's repair ability, for instance, doesn't just heal damage — it also restores a small amount of stamina to the target, which means pairing Mender with high-damage, low-stamina companions like Chompy creates a sustainable burst loop. Similarly, Glimmer's resource discovery ability has a chance to reveal hidden ore veins whenever any Mini'Oh completes an extraction in the same zone, making Glimmer a force multiplier rather than a direct contributor.
The best companion for your squad depends on which synergies you're building toward, which is why the complete Mini'Ohs list breaks down every companion's hidden interactions. Players who focus purely on individual stats often miss these compounding effects, and that's typically the difference between a smooth descent and a run that stalls at depth 25.
Managing Your Mini'Ohs: Care Routines and Work Assignments
The hole is mine manage mini'ohs system goes deeper than just assigning tasks and waiting — it's a resource management layer that rewards attention to your crew's needs. Every Mini'Oh has a stamina bar that depletes as it works, and once exhausted, it falls asleep and stops contributing entirely. You can wake sleeping Mini'Ohs manually, but doing so costs resources and reduces their maximum stamina for the next cycle, creating a tradeoff between short-term output and long-term efficiency.
-
Stagger work shifts — instead of sending your entire squad to mine simultaneously, rotate them so some are always resting and recovering stamina.
-
Monitor stamina thresholds — pull Mini'Ohs back to the Village when their stamina drops below 30%, because the recovery penalty for exhaustion compounds.
-
Use the Village as a recovery hub — Mini'Ohs resting in the Village recover stamina faster than those resting in the field, so plan return trips strategically.
-
Feed Mini'Ohs before incursions — the Friendship Wool resource appears to boost stamina recovery rates, and using it before a timed event gives your crew a meaningful edge.
-
Check for status effects — certain depth hazards apply lingering debuffs that reduce mining efficiency, and these don't clear automatically when a Mini'Oh returns to the Village.
The care routine you establish in the first few hours sets the pattern for the entire run. Players who treat Mini'Ohs as disposable workers often find themselves stuck at mid-game depth walls, because exhausted companions can't clear hazards fast enough to prevent resource bleed. According to community reports from the Next Fest prologue, players who actively managed stamina and rotation cleared depths 30–40 roughly 40% faster than those who let their crew run until collapse.
Work Order Prioritization and Automation
Once you unlock multiple Mini'Ohs, the work order system becomes your primary management tool. You can assign specific companions to specific tasks — mining, exploration, hazard clearance, or Village support — and the game will auto-route them based on your priorities. The trick is understanding that task priority isn't static: a companion assigned to mining will keep mining even if a hazard appears that blocks the entire operation, which means you need to manually intervene when conditions change.
The launch minions guide covers the full work order system in detail, but the core principle is simple: review your assignments every time you descend to a new depth band. The hazard profile changes, the impurity types change, and your Mini'Ohs' effectiveness shifts accordingly. A crew configured for depth 15 will underperform at depth 25 unless you rebalance assignments.
Best Companion Loadouts for Specific Depth Ranges
Building the hole is mine best minions squad isn't about finding one universal team — it's about knowing which companions to deploy at each stage of your descent. The loadout recommendations below come from community testing across hundreds of runs, and they account for both the hazard profiles and the resource constraints of each depth band. These aren't the only viable setups, but they represent the most consistent performers according to player data.
| Depth Range | Recommended Squad | Why It Works |
|---|---|---|
| 1–10 | Pebble, Zippy, Pebble | Speed-focused extraction with zero maintenance |
| 11–20 | Chompy, Glimmer, Pebble | Burst damage plus resource discovery for upgrade fuel |
| 21–30 | Brute, Mender, Chompy | Hazard clearance plus sustain for extended runs |
| 31–40 | Brute, Mender, Glimmer | Maximum survivability with discovery for secret content |
The early game setup prioritizes raw extraction speed because your bottleneck is impurity volume, not hazard management. Zippy's fast cycles and Pebble's balanced output let you clear the upper depths quickly, generating the Holy Blook you need for early upgrades. By mid-game, you'll want to transition toward Chompy and Glimmer, because armored impurities require burst damage and your upgrade economy depends on discovering hidden caches.
Why the Deep Loadout Prioritizes Survival
The depth 31–40 loadout looks counterintuitive at first — no dedicated speed miner, no high-damage burst companion. But the hazard density in the deepest zones changes the math entirely. Environmental damage chips away at your crew constantly, and a single collapsed passage can block your entire operation for minutes. Brute's hazard clearance keeps paths open, Mender's sustain keeps everyone alive, and Glimmer's discovery ability ensures you're still finding resources while fighting for survival.
Players who stick with their mid-game loadout into the deep zones often report hitting a hard wall around depth 33–35, where the hazard damage outpaces their crew's ability to recover. The solution isn't more damage — it's better sustain. According to community data, swapping one damage companion for Mender at depth 30 increases average clear speed by roughly 25%, because you stop losing time to collapsed passages and exhausted crew members.
Frequently Asked Questions
What is the best minion for beginners in Hole Is Mine?
Pebble is the best starting companion because it offers balanced mining speed and carry capacity with no special maintenance requirements. You can assign Pebble to work and forget about it while you focus on learning the upgrade system and depth mechanics. Upgrade Pebble's mining speed first to accelerate your early progression.
How do I unlock new Mini'Ohs quickly?
Explore every side passage and dead-end room, because Mini'Ohs often hide in areas without impurities or ore. Complete incursion events when they trigger, as these frequently reward new companion types. Return to the Village after each depth milestone to check for new arrivals, and save cloning items to duplicate your strongest performers.
Can I customize my Mini'Ohs' appearance and equipment?
Yes, the game features 500+ equipment combinations that change both stats and visual appearance. Equipment management was reworked in the Next Fest prologue to make swapping builds easier. You can also customize Mini'Oh colors and loadouts, allowing you to create a crew that matches your preferred playstyle.
Do Mini'Ohs die permanently?
No, Mini'Ohs don't die permanently, but they can become exhausted and fall asleep if you push them too hard. Exhausted companions recover in the Village, though repeated exhaustion reduces their maximum stamina. Managing rest cycles is essential for maintaining consistent output, especially in deeper zones where hazards compound the stamina drain.
What is the best companion for the final depths?
Brute and Mender are the strongest companions for depths 31–40 because hazard clearance and sustain become more important than raw mining speed. Brute keeps passages open while Mender repairs damage from environmental hazards. Glimmer rounds out the squad by discovering hidden resources that fuel your final upgrade pushes.